


Lousy Day for a Ride
It was cold, very windy, and threatening rain on Saturday afternoon. I took a pass on riding. Instead, I did some work on Catherine's bike.
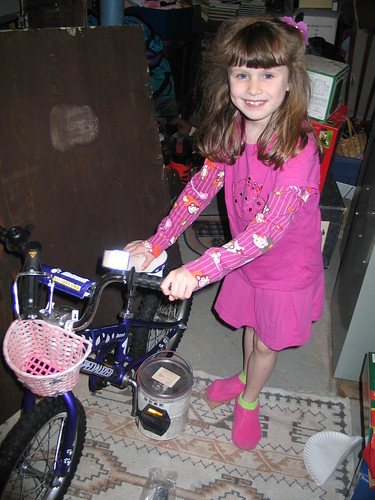
Bike Shop Customer, originally uploaded by Martinator.
Catherine successfully graduated from using her training wheels late last summer (Catherine Loses the Training Wheels). While we were at the bicycle shop in town (Bicycles Plus), she reminded me that she needed a kickstand for her bicycle. Here is Catherine and her bike in the workshop area of our basement.
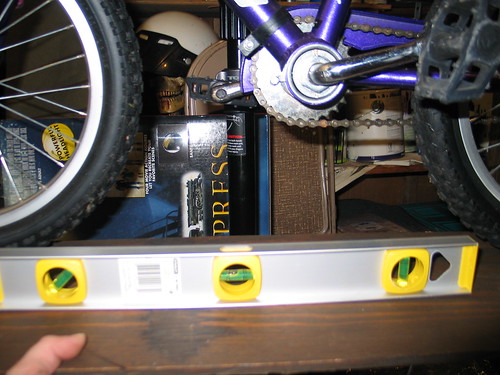
Measuring the Proper Kick-stand Length, originally uploaded by Martinator.
The instructions on the packaging that the kick-stand came in were rather vague. So I came up with my own method. First I mounted Catherine's bike on my Topeak PrepStand Pro Bicycle Repair Stand and made sure the wheels were level. I used a flat piece of wood and a level.
Then I mounted the kick-stand (which was about a foot long in its unaltered state) and looked to see where it met with the board/level. I made a mark about a half inch above where it met the board. That is where I will be cutting (It's aluminum, so it should be easy to cut I'm told.)

A Tool with a Tool, originally uploaded by Martinator.
This is me, ready to cut away with my Black & Decker Jigsaw. Scott at the bike shop (yes, I'm on a first name basis there) told me that a hack saw could cut through the kick-stand. I don't have a hack-saw, but I do have this. I even had a metal cutting blade. Always wear goggles for safety.
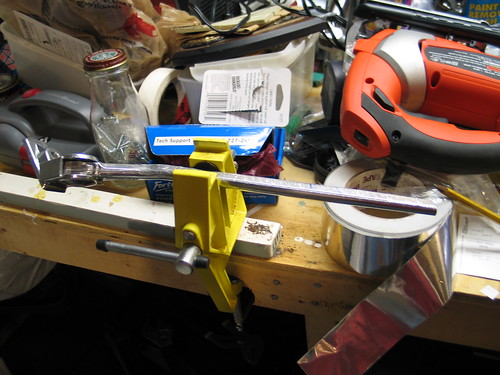
Kick-stand Ready for Cutting, originally uploaded by Martinator.
That the kick-stand in my ski tuning vise attached to my cluttered workbench. I used my left hand to further stabilize it by holding on to it on the left side of the vise. I did the cutting on the right side of the vise. The Jig Saw made quick work of it.
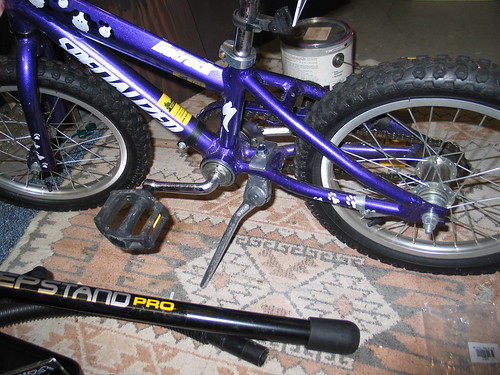
Right Length?, originally uploaded by Martinator.
After cutting it I loosely attached it to the bike (hand tight only) to see how the length was. Although the angle of the cut was wrong, the length was correct. It was good enough.

Back on the Stand, originally uploaded by Martinator.
I put the bike back on the bike stand so I could securely attach the kick-stand to the bike.
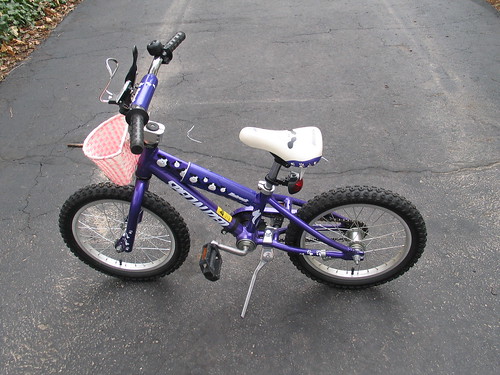
The Result, originally uploaded by Martinator.
Catherine's bike now has a kick-stand!
Pan Mass Challenge
Please visit my PMC Profile, read my story, and sponsor me as I ride for a cure.
1 comments:
Proud of you, babe! Now we won't have to hold Catherine's bike when she wants to do something off the bike. Thanks!
Post a Comment